The Honeywell Pro 8000 is a smart thermostat designed for seamless home temperature control‚ offering Wi-Fi connectivity‚ energy-saving features‚ and compatibility with various HVAC systems.
1.1 Overview of the Honeywell Pro 8000 Series
The Honeywell Pro 8000 Series is a line of advanced thermostats designed for efficient home climate control. These models‚ including the TH8321WF1001‚ offer Wi-Fi connectivity‚ touchscreen interfaces‚ and compatibility with heat pumps and dual-fuel systems. They support geofencing‚ smart scheduling‚ and integration with smart home systems. The series is known for its user-friendly design and energy-saving features‚ making it ideal for homeowners seeking precise temperature management. With remote access via the Honeywell Home app‚ users can adjust settings and monitor energy usage. The Pro 8000 Series is also compatible with humidifiers‚ dehumidifiers‚ and ventilation systems‚ providing comprehensive indoor air quality control. Its versatility and advanced features make it a popular choice for modern HVAC systems.
1.2 Benefits of Upgrading to the Pro 8000 Model
Upgrading to the Honeywell Pro 8000 model offers numerous benefits‚ including enhanced energy efficiency‚ remote accessibility‚ and advanced smart home integration. Homeowners can enjoy precise temperature control‚ customizable schedules‚ and real-time energy usage monitoring through the Honeywell Home app. The Pro 8000 supports geofencing‚ learning your schedule to optimize heating and cooling‚ reducing energy waste. Its compatibility with humidity control systems and ventilation ensures improved indoor air quality. Additionally‚ the thermostat’s intuitive interface and Wi-Fi connectivity simplify setup and operation. With potential rebates from utility programs and long-term energy savings‚ upgrading to the Pro 8000 model is a cost-effective and convenient solution for modern home comfort.
Pre-Installation Requirements
Before installing the Honeywell Pro 8000‚ ensure system compatibility and gather necessary tools. Check wiring configurations and existing HVAC system specifications to avoid installation issues.
2.1 System Compatibility Check
Verify that your HVAC system is compatible with the Honeywell Pro 8000 thermostat. Check the system type‚ such as heat pump‚ gas furnace‚ or electric‚ and ensure it matches the thermostat’s specifications. Review the wiring diagram to confirm compatibility with your existing setup. The Pro 8000 supports most standard HVAC systems‚ including multi-stage heating and cooling. If unsure‚ consult the installation manual or contact a professional to avoid installation issues. Proper system compatibility ensures optimal performance and prevents potential malfunctions.
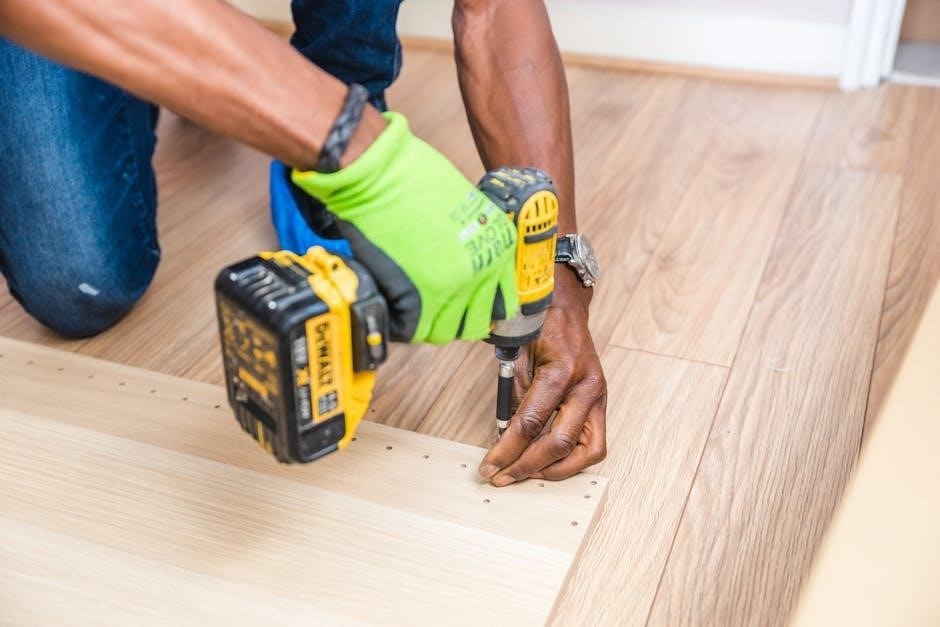
2.2 Tools and Materials Needed for Installation
To install the Honeywell Pro 8000 thermostat‚ gather the necessary tools and materials. You will need a screwdriver (both Phillips and flathead)‚ a wrench or pliers for wire connections‚ and a voltage tester to ensure power is off. A drill and wall anchors may be required if mounting on a masonry wall. Additional materials include wire nuts or connectors for secure wiring. Ensure you have the thermostat unit‚ its mounting plate‚ and any included screws or adapters. For safety‚ turn off the power to your HVAC system at the circuit breaker before starting. Optional items like a level or extra wiring can be helpful depending on your setup. Always follow safety guidelines and consult a professional if unsure.
Installation Steps
Turn off power‚ remove the old thermostat‚ install the new mounting plate‚ secure the Honeywell Pro 8000‚ and connect the wires according to the manual.
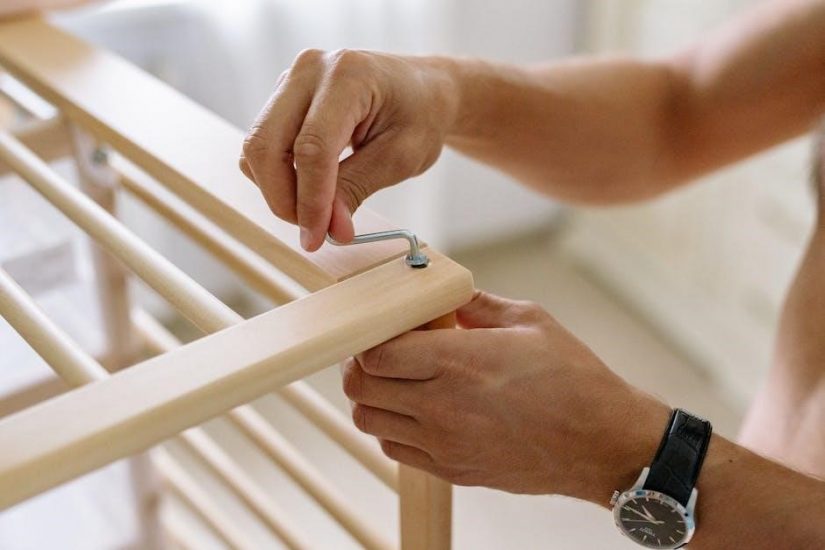
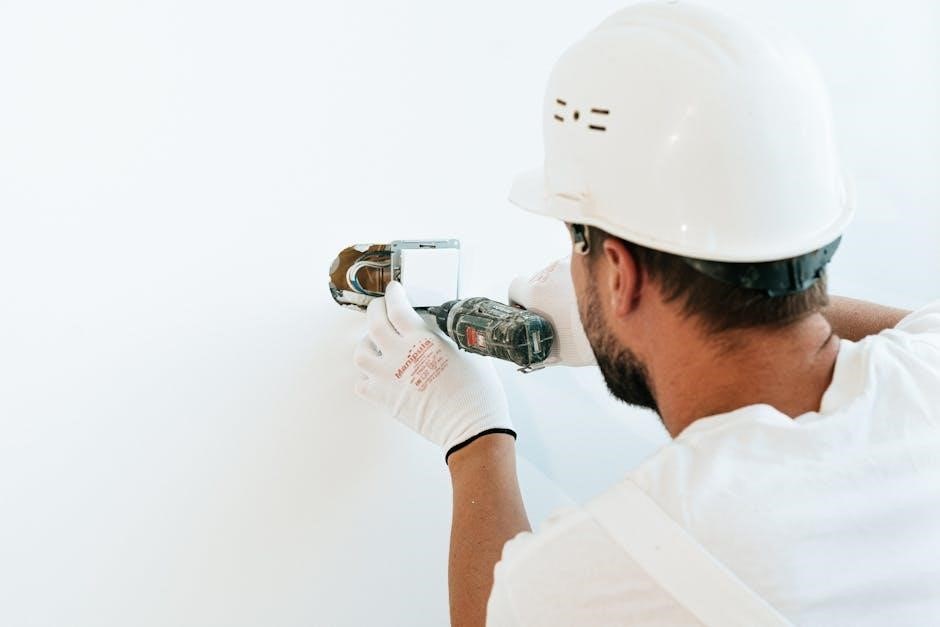
3.1 Mounting the Thermostat
Mounting the Honeywell Pro 8000 thermostat involves securing the base plate to the wall using screws. Ensure the wall is level and the plate is aligned properly. Drill pilot holes if necessary. After attaching the plate‚ gently snap the thermostat onto it. The recommended height is 5 feet from the floor for accurate temperature sensing. Use the built-in level tool provided in the installation kit to confirm proper alignment. Once mounted‚ connect the wires to the appropriate terminals as per the wiring diagram. Tighten all connections securely to avoid any loose wires‚ which could cause malfunctions. Finally‚ ensure the thermostat is firmly attached to the base plate for a stable installation.
3.2 Wiring Connections and Configurations
Before connecting wires‚ ensure the power to your HVAC system is turned off. Use the wiring label provided in the installation kit to identify each wire. Connect the R (red) wire to the R terminal and the C (common) wire to the C terminal. For heat pumps‚ connect the O/B wire to the appropriate terminal. If your system requires it‚ attach the W1 wire for heating and Y1 for cooling. Secure all connections firmly to avoid loose wires. Double-check the wiring diagram in the manual to ensure compatibility with your HVAC system; If unsure‚ consult a professional. Proper wiring ensures safe and efficient operation of the Honeywell Pro 8000 thermostat. Always verify wiring compatibility during pre-installation checks to avoid potential issues.
Programming and Setup
The Honeywell Pro 8000 setup involves initial configuration‚ enabling Wi-Fi‚ and setting up a password. Program schedules and preferences‚ and enable advanced features like geofencing for smart automation.
4.1 Initial Configuration and Settings
After installation‚ begin with the initial setup by powering on the Honeywell Pro 8000. Use the touchscreen interface to select your preferred language and location settings. Set up the date and time manually or enable auto-sync with your Wi-Fi network. Choose your HVAC system type and configure basic operating modes‚ such as Heat‚ Cool‚ or Auto. Set your desired temperature range and fan settings. Ensure the thermostat is connected to your Wi-Fi network for remote access and smart features. Refer to the password on the back of the device if re-entering installer setup is needed for advanced configurations. Complete these steps to prepare the thermostat for daily operation.
4.2 Advanced Features and Customization
The Honeywell Pro 8000 offers advanced features for enhanced comfort and efficiency. Enable geofencing to adjust temperatures based on your location or use custom scheduling to tailor settings for specific times. Remote access via the Honeywell Home app allows you to control the thermostat from your smartphone. Customize temperature ranges‚ humidity levels‚ and fan operations to suit your preferences. For systems with humidifiers or dehumidifiers‚ configure these accessories directly through the thermostat. Advanced features also include energy usage reports and smart recovery‚ which learns your schedule to preheat or cool your home efficiently. These settings ensure a personalized and energy-saving experience‚ optimizing your HVAC system’s performance for maximum comfort.
Post-Installation Checks
After installation‚ verify the thermostat’s functionality by testing heating‚ cooling‚ and fan modes. Ensure all settings and schedules are configured correctly for optimal performance and energy efficiency.
5.1 Testing the Thermostat’s Functionality
After installation‚ test the Honeywell Pro 8000 by switching between heating‚ cooling‚ and fan modes. Ensure the system responds correctly to temperature adjustments and schedule settings. Verify that remote sensors‚ if installed‚ accurately influence the temperature readings. Check for any error messages and refer to the troubleshooting guide if issues arise. Additionally‚ test the thermostat’s Wi-Fi connectivity to ensure it connects to your home network and can be controlled via the Honeywell Home app. Finally‚ review the system’s operation to confirm it aligns with your energy-saving preferences and home comfort needs.
5.2 Troubleshooting Common Issues
If the Honeywell Pro 8000 thermostat fails to operate correctly‚ check for common issues like loose wiring or incorrect connections. Verify that the system switch is set to the correct mode (heat/cool). Ensure the thermostat is properly mounted and leveled. If the display is blank‚ confirm the power supply is intact. For connectivity problems‚ restart the thermostat and router. Check for firmware updates and install the latest version. Refer to the error codes displayed on the thermostat for specific guidance. If issues persist‚ consult the user manual or contact Honeywell support for assistance. Regularly updating the software and ensuring proper installation can prevent many of these common problems.
Maintenance and Upkeep
Regularly clean the Honeywell Pro 8000 thermostat’s display and sensors to ensure accurate temperature readings. Update firmware for optimal performance and security.
6.1 Regular Maintenance Tips
For optimal performance‚ clean the Honeywell Pro 8000 thermostat’s display and sensors periodically with a soft cloth. Ensure the device is free from dust and debris; Check the battery levels if applicable and replace them as needed. Regularly update the thermostat’s firmware to access the latest features and improvements. Additionally‚ inspect the wiring connections to prevent any loose contacts that might disrupt functionality. Schedule annual maintenance with a professional to ensure the HVAC system operates efficiently alongside the thermostat. By following these tips‚ you can extend the lifespan of your Honeywell Pro 8000 and maintain precise temperature control in your home.
6.2 Updating Software and Firmware
Regular software and firmware updates are essential to ensure the Honeywell Pro 8000 thermostat operates at peak performance. These updates often include new features‚ bug fixes‚ and security enhancements. To update‚ navigate to the thermostat’s settings menu and check for available updates. Ensure the device is connected to Wi-Fi for a smooth update process. If prompted‚ enter the installer password‚ which is typically found on the back of the thermostat or in the installation manual. Always follow the on-screen instructions carefully to avoid interruptions during the update. After completion‚ restart the thermostat to apply the changes. Keeping the software up-to-date guarantees optimal functionality and compatibility with your HVAC system.