Welcome to the Coffee Maker Manual! This guide provides essential information for safe and efficient use of your coffee maker. It includes setup, brewing, maintenance, and troubleshooting tips to ensure optimal performance and longevity of your appliance. Always refer to this manual for proper operation and care.
1.1 Purpose and Scope of the Manual
This manual is designed to provide clear instructions for the safe and effective use of your coffee maker. It outlines the intended household use, essential safety precautions, and detailed operating procedures. The scope includes guidance on assembly, brewing, maintenance, and troubleshooting. By following this manual, users can optimize their coffee-making experience and ensure the longevity of the appliance. It is important to read this manual carefully before using the coffee maker to understand its features and proper care. This guide is intended for domestic use only, as specified in the product’s design and safety standards.
1.2 Intended Use of the Coffee Maker
The coffee maker is designed exclusively for household use, intended to brew coffee, espresso, cappuccino, and other coffee-based beverages. It is not suitable for commercial, laboratory, or outdoor use. The appliance should only be used to prepare hot beverages according to the instructions provided in this manual. Using the coffee maker for any other purpose may void the warranty and pose safety risks. Always ensure the machine is used on a stable, flat surface and connected to a compatible power source. Proper usage ensures optimal performance, safety, and longevity of the appliance.
Safety Precautions
Always follow safety guidelines to avoid accidents. Keep the coffee maker away from children, avoid overloading, and never immerse it in water. Ensure proper ventilation and use only as directed.
2.1 General Safety Guidelines
Always prioritize safety when using your coffee maker. Place it on a stable, heat-resistant surface away from children. Avoid overheating by ensuring proper ventilation. Never submerge the machine in water or expose it to excessive moisture. Use only approved accessories and follow the manufacturer’s instructions for operation. Regularly inspect the power cord and plugs for damage. Keep the coffee maker clean and avoid overloading it. Failure to adhere to these guidelines may result in electrical hazards or mechanical failure. Ensure all users understand these precautions before operating the machine.
2.2 Important Warnings and Cautions
Important warnings and cautions: Never operate the coffee maker without water in the boiler, as this can cause damage or malfunction. Avoid using hard or salty water, as it may weaken performance and lifespan. Keep the machine away from direct sunlight and moisture. Do not submerge the appliance in water or expose it to excessive humidity. Ensure the coffee maker is used only for its intended purpose and in a domestic setting. Always unplug the machine when not in use or during cleaning. Failure to follow these guidelines may void the warranty or pose safety risks.
Assembly and Initial Setup
Unbox and inventory all parts carefully. Ensure the coffee maker is placed on a stable, heat-resistant surface. Plug it into a grounded power outlet safely. Before first use, rinse all components thoroughly with fresh water to remove any manufacturing residues.
3.1 Unboxing and Inventory of Parts
Carefully unbox your coffee maker and ensure all components are included. Typically, you’ll find the main unit, water reservoir, filter basket, power cord, and user manual. Inspect for any visible damage. Check the inventory list provided in the manual to confirm all parts are present. Familiarize yourself with each component’s purpose before proceeding. Handle fragile parts with care to avoid breakage. If any items are missing or damaged, contact customer support immediately. Properly organizing the parts will make the assembly process smoother and ensure safe operation.
3.2 Connecting the Coffee Maker to Power
Locate a nearby electrical outlet rated for 120V AC, ensuring it’s easily accessible.Plug the coffee maker’s power cord into the outlet, making sure it’s securely connected.Avoid using extension cords or adapters, as they may cause electrical issues or safety hazards.Always check the cord for any signs of damage or wear before plugging it in. Once connected, ensure the coffee maker is placed on a stable, heat-resistant surface away from water sources. Do not submerge the appliance in water or expose it to excessive moisture to prevent electrical hazards. Proper power connection ensures safe and efficient operation of your coffee maker.
3.3 Preparing the Machine for First Use
Before first use, rinse the water tank and all removable parts with fresh, warm water. Fill the tank with clean water and run a brewing cycle without coffee grounds to flush out any manufacturing residues. Inspect all connections and ensure the machine is properly assembled. Check for any leaks by running water through the system. Allow the machine to heat up for a few minutes to ensure it’s ready for brewing. Refer to the manual for specific model instructions, as some machines may require additional priming steps. This preparation ensures your coffee maker is clean and ready for optimal performance.

Brewing Instructions
Follow the step-by-step guide to brew perfect coffee. Measure grounds, add water, and select settings. Start the cycle and enjoy your freshly brewed coffee.
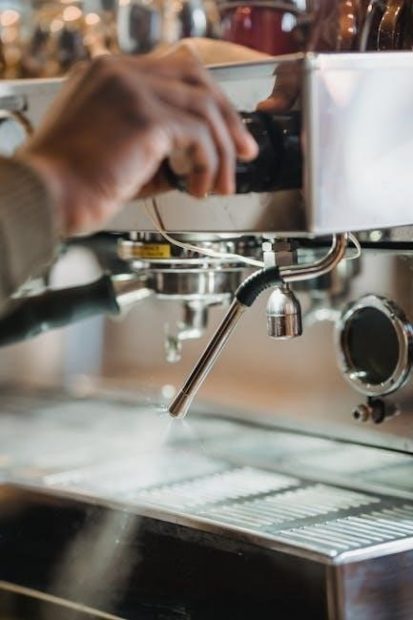
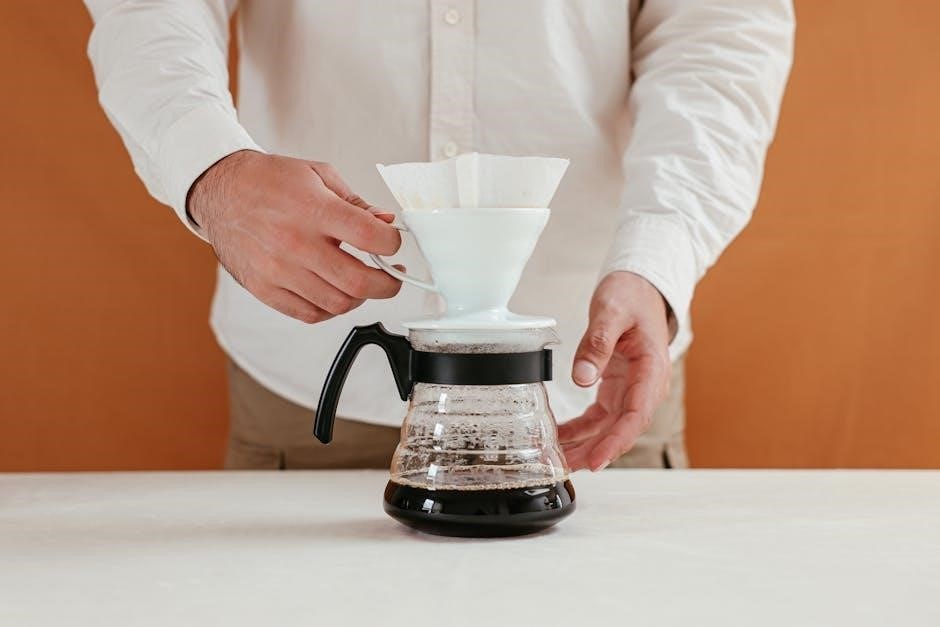
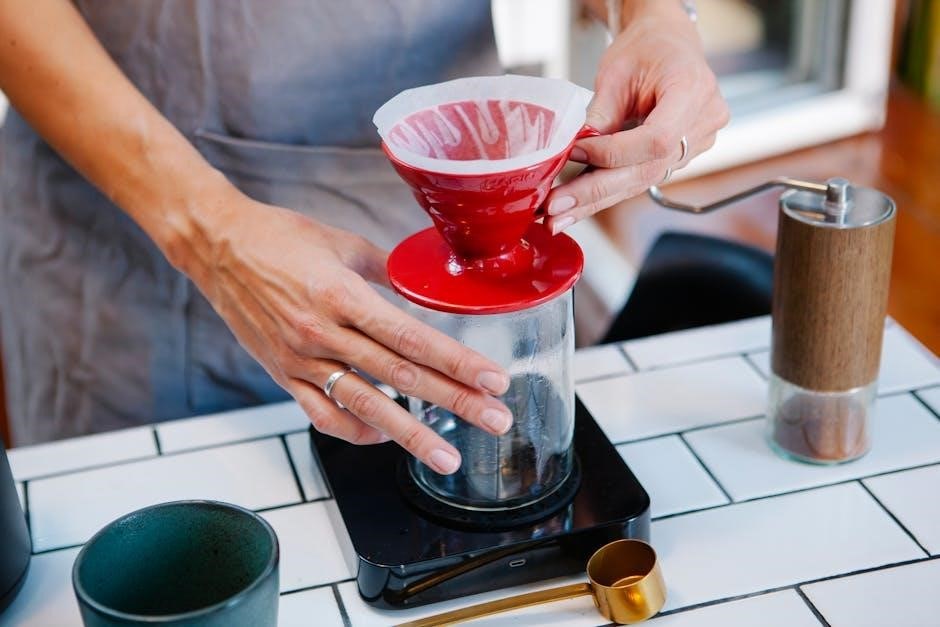
4.1 Step-by-Step Guide to Brewing Coffee
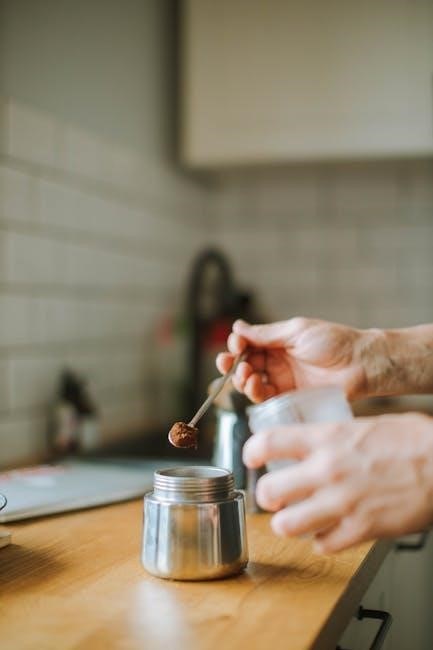
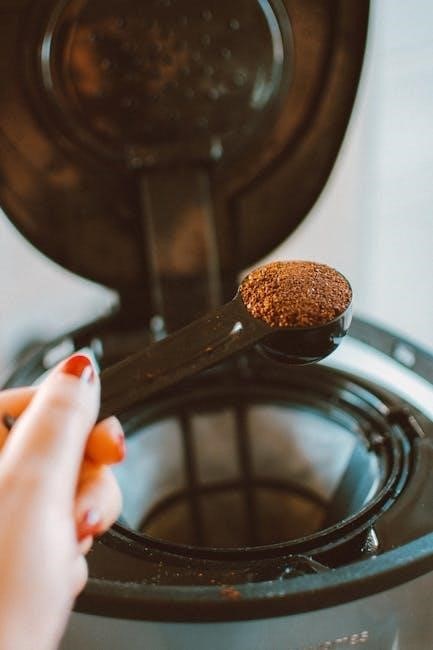
Ensure the coffee maker is properly assembled and plugged in. Measure the desired amount of coffee grounds. Use fresh, soft water for optimal flavor.
Pour water into the reservoir, ensuring it does not exceed the maximum level. Add coffee grounds to the filter basket and place it in the machine.
Select your preferred brewing settings, such as strength or cup size, using the control panel. Press the start button to begin the brewing cycle.
Allow the machine to complete the cycle. Once done, carefully pour the brewed coffee into your cup. For best taste, serve immediately.
TIP: Regularly clean and descale the machine to maintain performance and flavor quality. Always follow the manual for specific settings and maintenance.
4.2 Adjusting Coffee Strength and Flavor
Adjust the coffee strength and flavor to your preference by modifying the amount of coffee grounds or brew settings. Use fresh, soft water for optimal taste, as hard or salty water can weaken flavor. For stronger coffee, increase the coffee-to-water ratio or select a darker roast. Some models allow adjusting brew strength directly via the control panel. Experiment with grind size and brewing time to achieve your desired flavor profile. Ensure the machine is clean and well-maintained to avoid any residual tastes. Regularly descale to prevent mineral buildup affecting taste. Customizing these settings ensures a perfect cup every time.

Maintenance and Cleaning
Regular maintenance ensures optimal performance and longevity. Clean the machine daily, descale periodically, and replace filters as needed to prevent buildup and maintain flavor quality.
5.1 Daily Cleaning Routine
After each use, empty the coffee grounds and rinse the filter. Wipe down the machine with a damp cloth, paying attention to surfaces that come into contact with coffee. Regularly clean the water reservoir by rinsing it with fresh water. For removable parts, wash them with mild soap and warm water. Avoid using abrasive cleaners or immersing electrical components in water. Dry all parts thoroughly after cleaning to prevent mineral buildup and bacteria growth. This routine ensures optimal flavor and prevents clogging. For tougher stains, mix equal parts water and white vinegar on a soft cloth and gently scrub.
5.2 Descaling the Coffee Maker
Descaling is essential to remove mineral buildup from the machine. Mix a descaling solution or white vinegar with water, following the product instructions. Pour the mixture into the water reservoir and run a brewing cycle without coffee grounds. Repeat if necessary to ensure all internal parts are cleaned. Rinse thoroughly by running 2-3 cycles with fresh water to remove any solution residue. Regular descaling, typically every 3-6 months, prevents scaling and maintains machine performance. Always follow the manufacturer’s recommendations for descaling products to avoid damage. This process ensures your coffee maker continues to function efficiently and delivers great-tasting coffee.
5.3 Replacing Filters and Parts
Regularly replacing filters and worn parts ensures optimal performance and taste. Water filters should be replaced every 1-2 months or as indicated by the manufacturer to prevent impurities from affecting your coffee. Check the manual for compatible filter types and replacement intervals. For other parts, such as seals or gaskets, inspect for wear and replace promptly to avoid leaks or malfunction. Always use genuine or recommended replacement parts to maintain warranty validity and machine efficiency. Proper installation ensures safety and functionality, so follow the manufacturer’s instructions carefully. This helps preserve the machine’s longevity and brewing quality. Replace parts as needed to keep your coffee maker in top condition;
Troubleshooting Common Issues
This section helps identify and resolve common problems with your coffee maker, such as error codes, brewing issues, or machine malfunctions, ensuring proper functionality and longevity.
6.1 Common Problems and Solutions
- Machine not turning on: Check power cord connection and ensure outlet is working. Reset if necessary.
- Coffee not brewing: Verify water reservoir is filled and filters are clean. Ensure brew basket is properly aligned.
- Coffee overflow: Adjust coffee grounds amount or check if filter is overflowing. Clean excess grounds from brew basket.
- Leaking water: Inspect water tank and connections for damage or misalignment. Tighten loose parts.
- Descale warning: Perform descaling process to remove mineral buildup. Use recommended descaling solution.
- Strange noises: Check for blockages in water flow or coffee grounds in internal components. Clean thoroughly.
6.2 Error Codes and Their Meanings
Understand common error codes to resolve issues quickly.
- E1: Overheating detected. Turn off, unplug, and let cool before restarting.
- E2: Water reservoir empty or not detected. Refill or reattach the reservoir.
- E3: Brew temperature too low. Descale or check heating element function.
- E4: Sensor malfunction. Restart or reset the machine. If persistent, contact support.
- E5: Power supply issue. Ensure proper voltage and outlet functionality.
These codes help diagnose and fix problems efficiently. Always refer to your manual for specific model guidance.

Additional Features and Settings
Explore advanced features like programmable timers, custom brewing options, and temperature control. These settings enhance your coffee experience, offering convenience and personalization for perfect brews every time.
7.1 Programmable Timer and Custom Settings
The programmable timer allows you to set brewing times in advance, ensuring your coffee is ready when you need it. Custom settings let you adjust brew strength, temperature, and cup size to suit your preferences. Some models also offer memory functions to save your favorite settings. Use the control panel to navigate through options and personalize your coffee experience. Regularly update your settings to explore new flavors and brewing techniques. This feature enhances convenience and ensures your coffee is tailored to your taste every time.
7.2 Special Functions and Advanced Features
Your coffee maker may include advanced features like a built-in grinder for fresh beans, milk frothing for cappuccinos, or smart connectivity for app control. Some models offer automatic temperature adjustment for optimal brewing. Customizable brewing profiles allow you to save your preferred settings for repeat use. Additionally, features like automatic shut-off, keep-warm functions, and eco-friendly modes enhance convenience and energy efficiency. Explore these functions to elevate your coffee experience and tailor it to your lifestyle. These advanced features make your coffee maker versatile, ensuring every cup meets your unique preferences.