The Accu-Chek Guide glucose meter is a user-friendly, precise tool for managing diabetes. It offers quick results, easy handling, and seamless connectivity to the mySugr app for data tracking.
Overview of the Accu-Chek Guide System
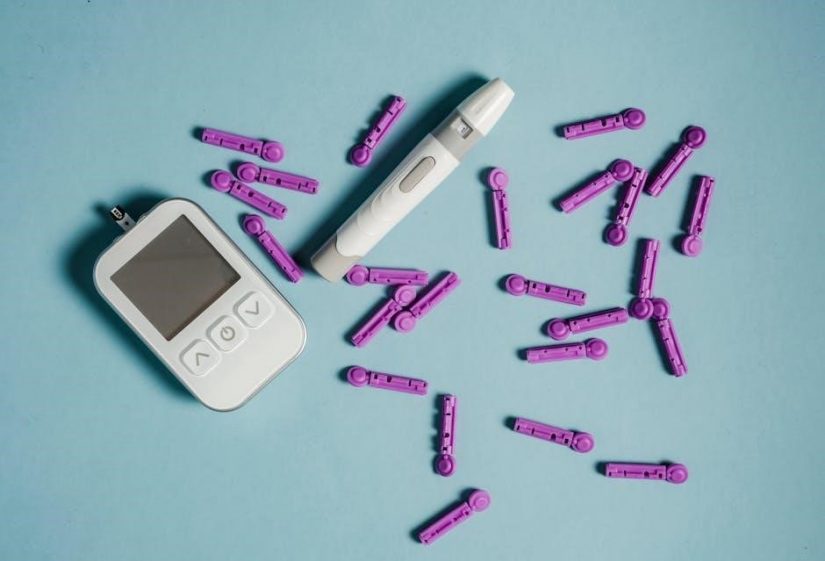
The Accu-Chek Guide system is a comprehensive solution for blood glucose monitoring, designed for simplicity and accuracy. It includes the meter, test strips, and a lancing device, all working together to provide reliable results. The system is compatible with the mySugr app, enabling seamless data tracking and management. It is designed to support individuals with diabetes in managing their condition effectively, offering intuitive features and integration with other health tools for better glucose control and personalized care.
Key Features of the Accu-Chek Guide Meter
The Accu-Chek Guide meter is a user-friendly device designed for accurate blood glucose monitoring. It features a large, easy-to-read display and provides results in just 5 seconds. The meter uses Accu-Chek Guide test strips, which require a small blood sample for precise readings. It also includes a hypo flag, which alerts users to low blood sugar levels. The device is compatible with the mySugr app, allowing for seamless data tracking and sharing. With its compact design and intuitive interface, the Accu-Chek Guide meter is a practical tool for effective diabetes management.
Setting Up Your Accu-Chek Guide Meter
Setting up the Accu-Chek Guide meter involves inserting the battery, setting the date and time, and installing the code chip to ensure accurate test results.
Inserting the Battery
To insert the battery, open the battery door on the back of the meter. Remove the old battery and press any button to discharge it. Insert the new battery with the plus sign facing up, then close the door. Ensure the meter is ready for use by checking the display. This simple process ensures your Accu-Chek Guide meter is powered and functional for accurate glucose monitoring.
Setting the Date and Time
To set the date and time on your Accu-Chek Guide meter, use the navigation buttons to scroll through options. Select the correct date and time, then confirm your settings. This ensures accurate recording of your blood glucose results. The meter will be ready for testing once the date and time are properly set.
Installing the Code Chip
Installing the code chip in your Accu-Chek Guide meter ensures accurate test strip compatibility. Locate the code chip port on the meter’s side or back. Align the chip with the port, ensuring it fits smoothly without force. Gently push the chip into the port until it clicks. Once installed, the meter will recognize the chip, and you can proceed with testing. This step is essential for ensuring precise blood glucose measurements with your Accu-Chek Guide system.
Using the Accu-Chek Guide Meter
The Accu-Chek Guide meter offers a seamless testing experience with quick results and intuitive design. Its user-friendly interface makes blood glucose monitoring easy and efficient for daily use.
Preparing the Meter for a Test
Before testing, ensure the Accu-Chek Guide meter is ready for use. Insert the code chip corresponding to your test strips to synchronize the meter. Turn on the device and verify the date and time are correct. Ensure the battery level is sufficient and no error messages are displayed..Align the test strip with the meter’s test strip port and gently insert it until it clicks. The meter will power on automatically, indicating it is ready for a blood sample. Always use compatible Accu-Chek Guide test strips for accurate results.
Obtaining a Blood Sample
To obtain a blood sample, use the SoftClix lancing device provided with the Accu-Chek Guide system. Choose a clean fingertip or alternate site, such as the palm or forearm. Prime the lancet by cocking it, then press the release button to get a small blood drop. Gently massage the finger upward to encourage blood flow. Avoid squeezing too hard, as this can cause inaccurate results. If the first drop is insufficient, repeat the process without recocking the lancet. Ensure the blood sample is free from contamination for reliable testing.
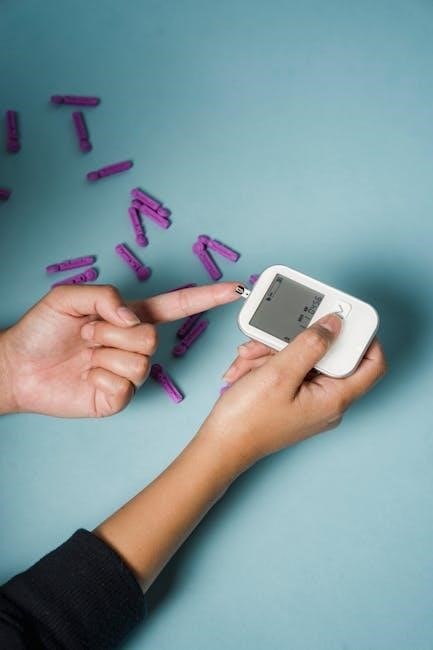
Applying the Blood Sample to the Test Strip
Once you have obtained a blood sample, gently touch the blood drop to the easy-edge dosing area of the Accu-Chek Guide test strip. The meter will automatically detect the sample and begin the test. Ensure the blood sample fills the entire target area to avoid inaccurate results. If the blood sample is insufficient, discard the strip and repeat the process with a new test strip. Avoid adding more blood to the same strip, as this can lead to errors. The meter will display the results shortly after application.
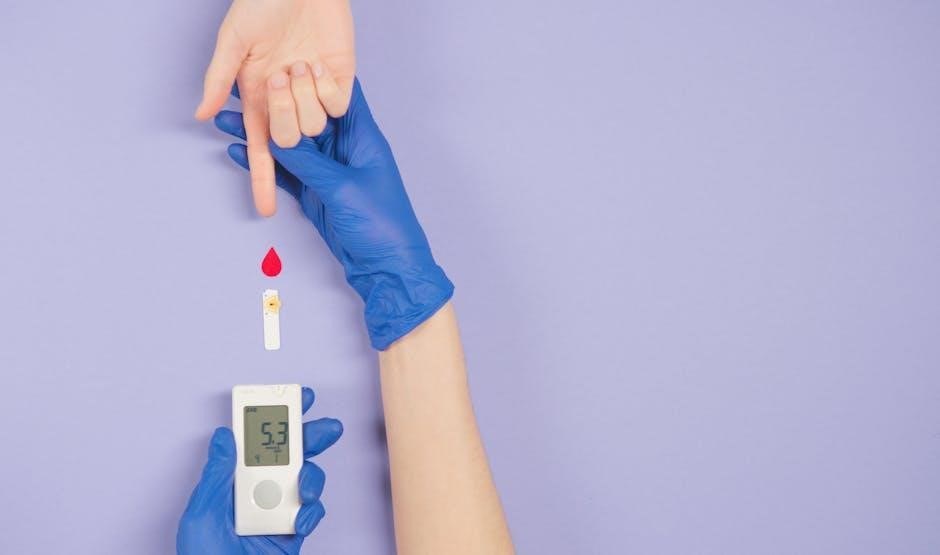
Interpreting the Test Results
The Accu-Chek Guide meter provides clear and accurate blood glucose readings on its large display screen. After applying the blood sample, the meter will display your glucose level in either mg/dL or mmol/L, depending on your settings. The result will also show the date and time of the test. If your reading is below your set hypo threshold, the hypo flag will appear. Use these results to monitor your glucose levels, adjust your treatment plan, and share data with your healthcare provider via the mySugr app for better diabetes management.
Understanding the Test Strips
The Accu-Chek Guide system uses Accu-Chek Guide test strips, designed with an easy-edge dosing area for accurate results with just a small drop of blood.
Compatible Test Strips for the Accu-Chek Guide
The Accu-Chek Guide glucose meter is specifically designed to work with Accu-Chek Guide test strips. These strips feature an easy-edge dosing area, ensuring accurate results with just a small blood sample. Using incompatible strips may lead to incorrect readings or meter errors. Always store test strips in their original container, protected from moisture and extreme temperatures, and check the expiration dates before use to ensure reliability and accuracy in blood glucose monitoring.
Proper Handling and Storage of Test Strips
Always store Accu-Chek Guide test strips in their original container to protect them from moisture and light. Keep them in a cool, dry place, avoiding extreme temperatures. Do not expose strips to direct sunlight or humidity. Ensure the container is tightly sealed after each use to maintain strip integrity. Avoid touching the test strip surface to prevent contamination. Check the expiration date on the container before use and discard any expired strips. Proper storage ensures accurate and reliable blood glucose readings.
Troubleshooting the Accu-Chek Guide Meter
The Accu-Chek Guide may show missing display segments. Check test strip expiration and ensure proper handling. Incorrect control solution use can cause errors; wipe the bottle tip and cap tightly.
Common Errors and Solutions
The Accu-Chek Guide meter may display errors due to missing code chips or incorrect insertion. Ensure the code chip is properly aligned and inserted only one way. Expired test strips can also cause issues; always check the “Use By” date. If the meter shows low battery, replace it promptly. For display problems, restart the meter by removing and reinserting the battery. If issues persist, contact customer support for further assistance.
Performing a Control Test
A control test ensures the Accu-Chek Guide meter is functioning accurately. Use a control solution specifically designed for the meter. Insert a test strip, then apply a few drops of control solution to the strip. The meter will display a control test result, which should match the expected range printed on the control solution bottle. If the result is outside this range, refer to the troubleshooting guide. Always cap the control solution bottle tightly after use to maintain its effectiveness. This test confirms the meter’s reliability for accurate blood glucose monitoring.
Maintaining Your Accu-Chek Guide Meter
Regularly clean the meter with a soft cloth and avoid exposure to moisture or extreme temperatures. Replace the battery as needed and store the meter in a protective case.
Cleaning the Meter
Regular cleaning ensures accurate performance and longevity. Use a soft, dry cloth to wipe the meter’s exterior. For stubborn spots, dampen the cloth with water, but avoid harsh chemicals or submerging the meter in water. Never use alcohol or abrasive materials, as they may damage the screen or casing. Clean the strip port and areas around buttons with a cotton swab. Avoid exposure to extreme temperatures or moisture. Regular cleaning helps maintain hygiene and ensures precise blood glucose readings. Always follow the manufacturer’s guidelines for care and maintenance.
Replacing the Battery
To replace the battery in your Accu-Chek Guide meter, open the battery door located on the back of the device. Remove the old battery and wait for at least 20 seconds before inserting the new one. Use a lithium battery (CR2032) and ensure it is properly aligned. Once the new battery is inserted, close the door. The meter will automatically turn on, and you may need to reset the date and time. The battery typically lasts for up to 500 tests. Always use a high-quality battery to ensure optimal performance.
Additional Features and Functions
The Accu-Chek Guide meter features a hypo flag for setting personalized low-blood-sugar alerts and seamless connectivity to the mySugr app for comprehensive glucose tracking and management.
Using the Hypo Flag
The hypo flag on the Accu-Chek Guide meter allows you to set a personalized low-blood-sugar threshold. When your reading falls below this level, the meter alerts you, ensuring timely action. This feature is customizable, enabling users to define their hypoglycemic range based on individual health needs. The hypo flag enhances monitoring by providing immediate alerts, helping you stay proactive in managing low-blood-sugar events. It is an essential tool for improving glucose control and preventing complications related to hypoglycemia.
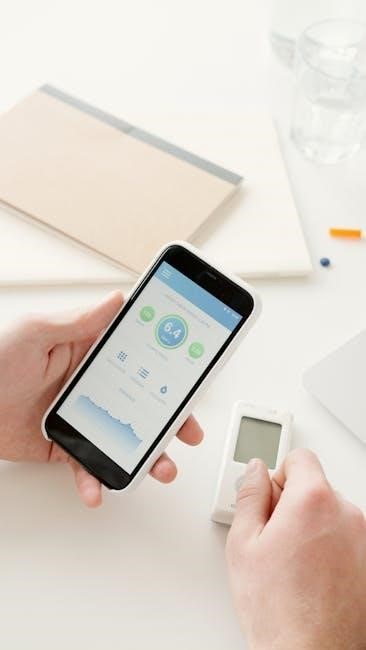
Connecting to the mySugr App
Connecting your Accu-Chek Guide meter to the mySugr App enables seamless data transfer and comprehensive glucose tracking. The app automatically syncs your blood sugar readings, allowing you to monitor trends, set reminders, and share data with healthcare providers. This integration simplifies diabetes management by consolidating your data in one place. The mySugr App also offers insights and reports to help you make informed decisions about your glucose control. This feature enhances your ability to track and manage your diabetes effectively, making it a valuable tool for long-term health management.
The Accu-Chek Guide glucose meter is an excellent choice for diabetes management, offering ease of use, accurate results, and connectivity to the mySugr app for seamless tracking.
Final Tips for Effective Use
For optimal use of the Accu-Chek Guide glucose meter, always clean the device regularly, store test strips properly, and ensure the meter is updated with the mySugr app. Set reminders for routine checks, utilize the hypo flag for personalized alerts, and carry spare batteries. For accurate results, avoid expired test strips and recheck borderline readings. By following these tips, you can maximize the meter’s functionality and maintain better control over your blood sugar levels for improved diabetes management.